Wednesday, June 19, 2013

Omelets (Omelettes) by Minion-CIO

In honor of Father's day being this past Sunday, the one meal I CAN'T make that my husband can...
From here on out - his words/instructions - 
and maybe one day when I'm feeling brave again, I'll try them now that I have specifics on his method! :)

Advanced preparation is critical. Before heating any pans, be sure to cut and portion all vegetables, meats, cheeses, etc. The layer of egg is thin and cooks very quickly. If you pour the eggs and then turn around to cut some vegetables, by the time you go back to the stove, the bottom of the egg may have toasted already.

If you're going to add any crispy vegetables, I recommend sauteing them in the pan (with oil or water) or at least heating them up to soften them before adding them to the egg. The same goes with any meats added- they need to be fully cooked and chopped before being added.

Crack all eggs into a mixing bowl. 
Add enough milk to appear approximately equal to the volume of egg yolks (for 18 eggs, I used 1/3 C milk).

Beat the eggs until the mixture is consistent. 


If it's as dark as the yolk, add more milk. If it's pale like buttermilk or egg nog, add more eggs. It should be the color of generic scrambled eggs (light, sunny yellow).
Add salt and pepper to taste, typically in equal amounts.


When all is ready, preheat a pan (or two, or a skillet) to medium-low heat. Be prepared to turn the temperature down if you're going to make multiple omelettes. Low heat is key for preparing these, since the layer is so thin. Grease the pan with butter, Crisco, spray oil, whatever works. Use a ladle to scoop out the egg mixture. The little minions like a 2-egg omelette, so I scoop a little less than a ladle full. But the bigger minions like 3-egg omelettes, so I scoop a ladle full and then some for them.
Use a spatula to form the egg mixture into a large, flat rectangle on the pan (or cover the entire bottom if it's a circle). As soon as the center area starts to appear dry, add the toppings. Spread them evenly. As soon as the outer edges start to appear dry, fold the omelette from one end to the other.

I typically start with the messy end so the final product looks neat.

Leave the omelette on the pan a few seconds rolled up, to solidify it a bit, then place on a plate and serve immediately.


We typically end up eating in shifts because the first omelettes out would be cold by the time the last ones rolled off, if we all ate together. But for that reason, it's a great weekend morning meal, when everyone's running around doing their own thing anyway.

I like salsa on mine. I've seen ketchup used as well. Sauteed mushrooms and green peppers are great. Any breakfast meat (or cold cuts or pepperoni) is a welcome addition. I am a fan of adding hash browns right into the middle. When I rummage through the fridge and throw in anything I can find, I call it a "garbage omelette".


Back to me...Doesn't he make that look so easy? (maybe it is...I haven't tried since he's got the touch)
I like ham/cheddar. (Cheddar/Bacon/Tomato is good too.)

My girls? Cheese only

What's in your omelet? :)


Tuesday, June 18, 2013

Honey Balsamic Vinegar Roasted Carrots


Here's another delicious side dish.  I've been hunting for things other than just green beans and corn.  It's super easy and very delicious!

I didn't put ingredient measurements, because you really don't need them.  Just sprinkle and drizzle generously.

Ingredients:

Carrots
Olive Oil
Onion Salt
Honey
Balsamic Vinegar

Directions:

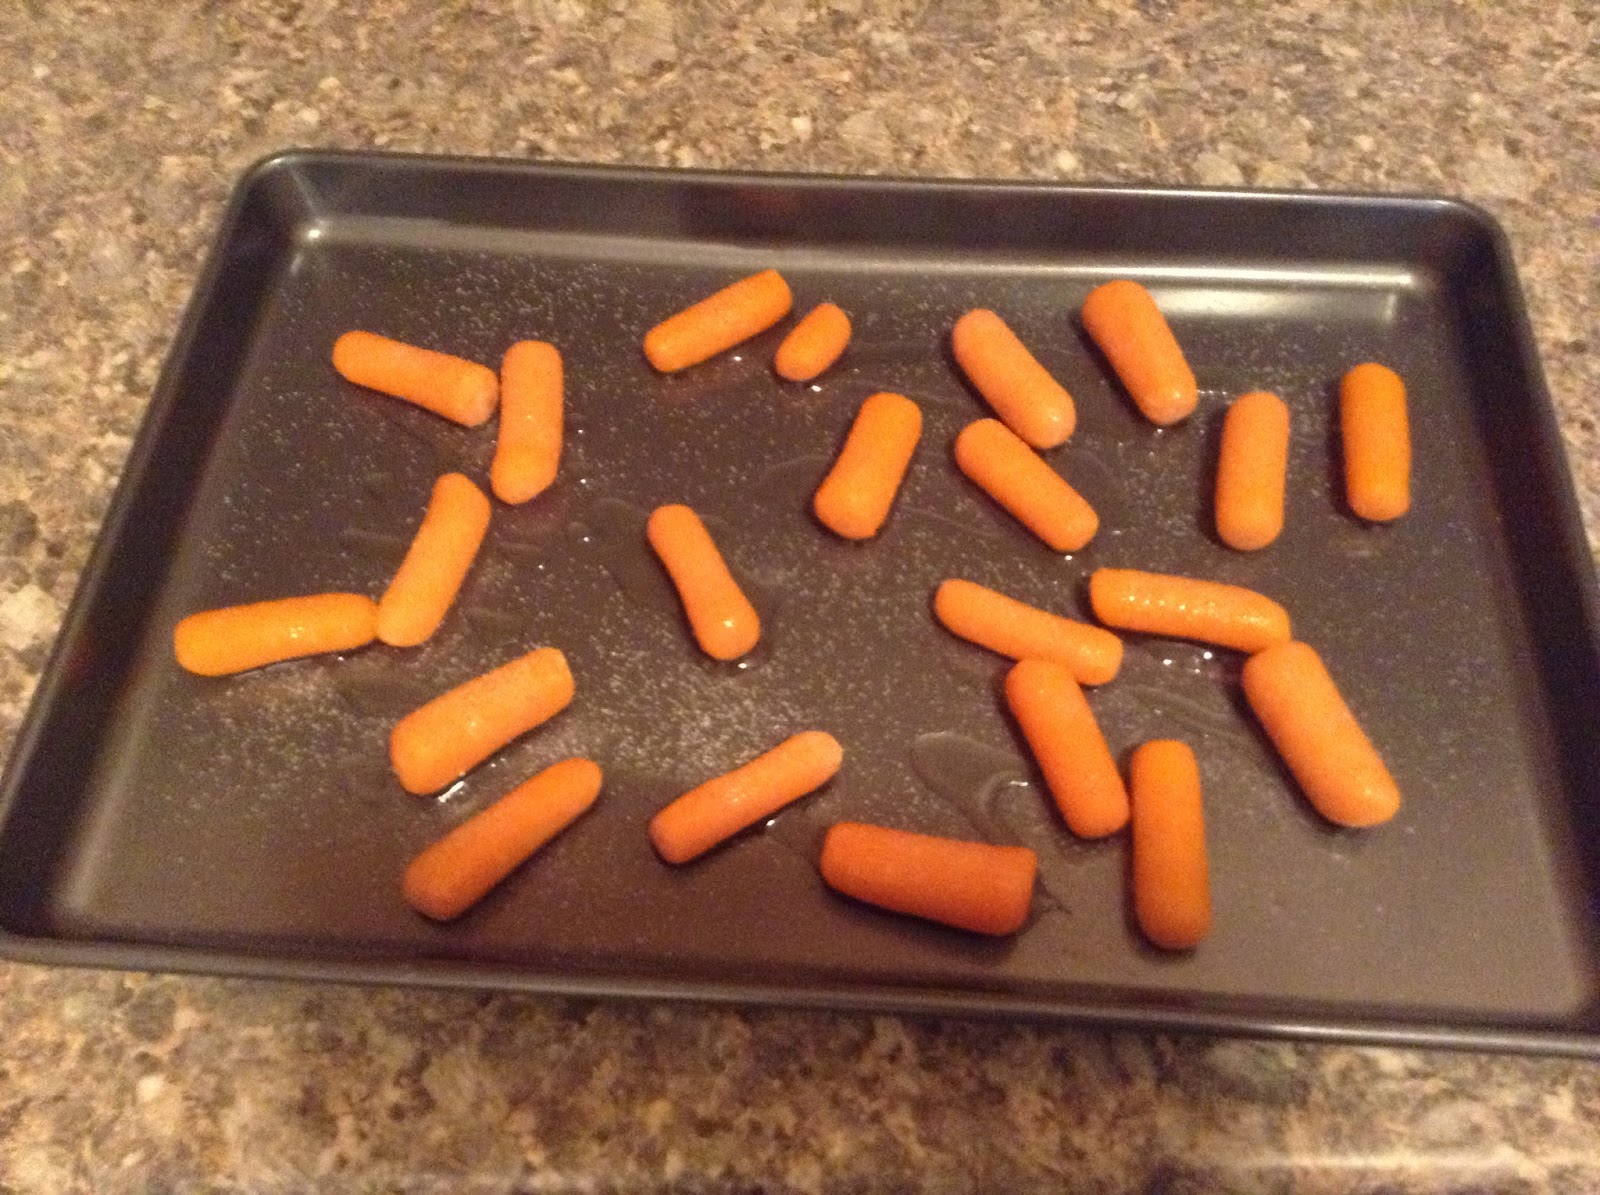
1.  Preheat the oven to 400 degrees.  In a baking dish spread out as many carrots as you think your family will eat.  Drizzle olive oil over the carrots.  Sprinkle onion salt or any other seasonings you think would go well.

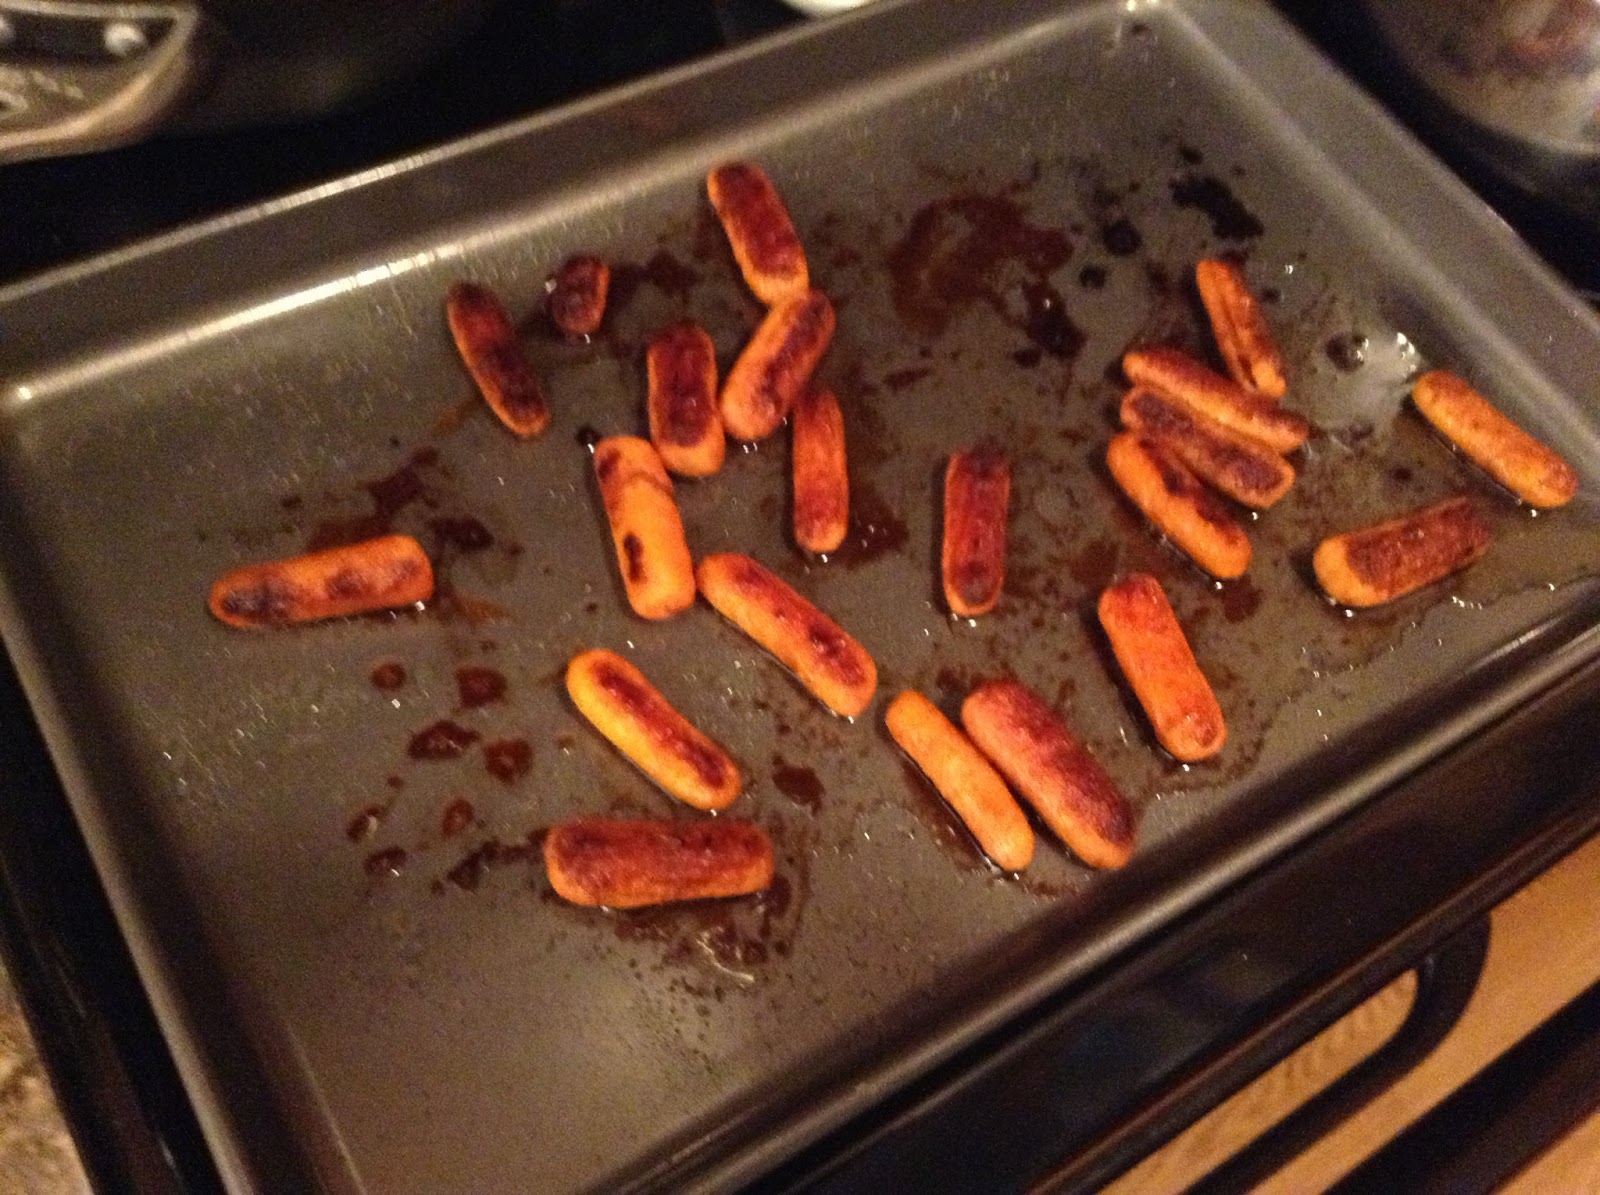
2.  Bake the carrots for 20 minutes.  Pull them out of the oven and drizzle honey and balsamic vinegar over them.  Flip each of the carrots over.  Bake for an additional 5-7 minutes.


See?  Easy peasy, and even my pickiest minion enjoyed them :)

Sunday, June 9, 2013

Personal Pan Pizza (Pizza Hut Copy-Cat)


At our house, we love Beth's pizza recipe.  We have it at least once a month.  However, my chief minion had a hankering for some deep dish pizza and found this recipe online.  After reading the reviews, I decided to give it a try and it was amazing.  It's a bit more time consuming than the other recipe, but a good deep dish option.

The recipe makes 3 small pizzas (baked in a 9" cake pan or a pie pan).  I've also included the pizza sauce recipe.  Jake really liked it (he said it was much better than our usual Walmart generic brand sauce), but it needs some work.  I plan on tweaking it a bit...

Ingredients:

2 & 1/4 tsp yeast
1 Tbsp sugar
1/2 tsp salt
1/4 cup dry milk
1 & 1/3 cups warm water
2 Tbsp olive oil (for the dough)
3/4 cups vegetable oil (for the pan)
4 cups flour
No-stick cooking spray

Mozzarella Cheese
Pepperonis

Sauce--

8 oz can of tomato sauce
1 tsp dry oregano
1/2 tsp marjoram
1/2 tsp dry basil
1/2 tsp garlic salt

Directions:

1.  Mix yeast, sugar, salt, and dry milk.  Add warm water and allow the yeast to activate for about 2 minutes.  Add in the oil and mix.

2.  Mix in the flour, adding one cup at a time until the dough forms.

3.  Pour 1/4 cup oil into each of your 9" cake pans. (Yes this is a lot of oil, but it kind of boils the crust in the oven and makes it AMAZING.)  Turn out the dough on a floured surface and knead for 10 minutes.  (I only made it 7 minutes before I gave up.)  Divide the dough up into 3 balls.

4.  With a rolling pin, flatten each of the dough balls into a 9" circle.  Place the dough in the cake pans and spray the tops with no-stick cooking spray.  Cover with a plate.  Allow to rise for 1-1.5 hours.

5.  Combine all of the sauce ingredients in a bowl and allow to sit for an hour.  (I'm slightly embarrassed to admit that I grabbed a can of tomato paste rather than sauce, so the picture looks funny.  It should be a lot more soupy.)

6.  Preheat the oven to 475 degrees.  Once the dough has risen, spread sauce onto the crusts and top with pepperonis and cheese.  Bake for 7-10 minutes until the crust is golden and the cheese is melted.

Monday, June 3, 2013

Sloppy Joe's

I know it's a simple recipe that barely needs a recipe at all - but that's exactly why I'm posting it. For anyone with kids still in school this week (like me), you'll spend most of your week running between the school and home attending every end of the year event they put on, with camera in hand, and toddler in tow.

(Some call these chili burgers)

1 lb.  Of lean ground beef
1 can of tomato soup
 Mustard
1 package of hamburger buns (or refrigerated biscuits - see option 2 below)

Brown meat.  Add can of soup and a few squirts of mustard.  (I know - don't you hate that kind of amount measurement. Maybe the picture will help - this is double the recipe)


Simmer until hot.  Spoon on buns and place buns back in wrapper to steam.


I had a friend one time get creative with her sloppy joe's -
Option 2: Roll out each biscuit to flatten, scoop a spoonful of sloppy joe into middle, fold over biscuit and seal edges. Bake in oven (according to biscuit package).


I labelled these as "kid friendly" because growing up they WERE kid friendly, but there is something wrong with my minions and beef is not high on their food preference list. :)
I still love them and my meat-loving son does too.

Friday, May 31, 2013

Cheesecake


I love cheesecake.  When I moved away from Raleigh, I was super disappointed that our new city didn't have a Cheesecake Factory.  I blogged about a chocolate cheesecake a few months ago, so I figured I'd follow it up with a plain cheesecake for those of you who can't tolerate desserts quite that rich (cough::Jake::cough).

Anyways, this recipe is super simple and you probably have all the ingredients on hand.  I will warn you that you need to put the cream cheese and eggs out on the counter top a while in advance and you need to allow for 3+ hours refrigeration time, so it's not an immediate-I've-got-a-craving-right-now kind of recipe.  It makes for really awesome cheesecake, though.

Ingredients:

2 (8 oz) packages of cream cheese--softened
1/2 cup sugar
1/2 tsp vanilla
2 eggs--room temperature
1 graham cracker pie crust

Directions:

1.  Preheat oven to 350 degrees.  Mix cream cheese, sugar, and vanilla at medium speed until blended.

2.  Add eggs and continue to mix until blended.  Pour into crust.

3.  Bake for about 40 minutes, or until the center is set.  Allow the cheesecake to cool and then refrigerate for at least 3 hours.


I had some oreo crumbs leftover from another dessert, so I made a pie crust out of them.  Also, I refrigerated mine overnight and then dressed it up with caramel and chocolate chips :)

Tuesday, May 28, 2013

Greek Pita

I found this recipe online last year when I was looking for more healthy recipes. And it was easy and fast and good. (Well, the kids griped a little, so we won't call it a favorite, but I think if I give it a fun name they might change their minds next time.) :) I really liked it.


Greek Pita
            Makes 8 pita pockets (I  took the original and multiplied it out to make more than 1)

4 (6-inch) pitas (cut in half)
1 cup chopped romaine lettuce (1 small head is enough)
1 cup hummus
1 1/3 chopped cucumber (1 large cucumber is enough)
3-4 small chopped tomatoes
½ cup low-fat plain yogurt or sour cream
4 teaspoons McCormick Greek seasoning (could go less to make milder)

Mix all ingredients (except lettuce and pitas). Cut pitas in half (so there are 2 ‘pockets’ to fill). Fill each pita with lettuce and then with hummus mixture. Serve immediately.

(The original just listed what the pita was filled with, so I multiplied the ingredients and mixed most of the ingredients and filled it that way.)

Know what would make this better? 
Homemade pitas!
...thus begins the search for my next recipe to add to the book!

Got a creative kid-friendly name for these?

Thursday, May 23, 2013

Baked Broccoli


Here's another side dish--my friend Chelsea told me about it, and I've been making it about once a week for the past 3 weeks.  It's a nice alternative to green beans :)

Ingredients:

Frozen broccoli (you could probably use fresh if you wanted--just adjust the baking time)
Olive Oil
Seasoned Salt
Garlic Powder
Onion Powder
Salt
Pepper

**Pick any of your favorite savory spices!

Directions:

1.  Spray a baking dish with non-stick cooking spray.  Spread as much broccoli as you think your family will eat along the bottom of the dish.

2.  Drizzle the broccoli with olive oil.  Sprinkle with your favorite spices.

3.  Bake on 425 degrees for about 20 minutes.  Broil for 3-5 minutes until the tips of the broccoli are nice and brown (crispy).

I accidentally bought a bag of "cut" broccoli, which I found out means that you get a lot of stalk with very little of the good part of the broccoli--so the pictures don't show the normal crispy brown goodness.

I'm not usually a huge broccoli fan, but I love it cooked this way!