Friday, May 31, 2013

Cheesecake


I love cheesecake.  When I moved away from Raleigh, I was super disappointed that our new city didn't have a Cheesecake Factory.  I blogged about a chocolate cheesecake a few months ago, so I figured I'd follow it up with a plain cheesecake for those of you who can't tolerate desserts quite that rich (cough::Jake::cough).

Anyways, this recipe is super simple and you probably have all the ingredients on hand.  I will warn you that you need to put the cream cheese and eggs out on the counter top a while in advance and you need to allow for 3+ hours refrigeration time, so it's not an immediate-I've-got-a-craving-right-now kind of recipe.  It makes for really awesome cheesecake, though.

Ingredients:

2 (8 oz) packages of cream cheese--softened
1/2 cup sugar
1/2 tsp vanilla
2 eggs--room temperature
1 graham cracker pie crust

Directions:

1.  Preheat oven to 350 degrees.  Mix cream cheese, sugar, and vanilla at medium speed until blended.

2.  Add eggs and continue to mix until blended.  Pour into crust.

3.  Bake for about 40 minutes, or until the center is set.  Allow the cheesecake to cool and then refrigerate for at least 3 hours.


I had some oreo crumbs leftover from another dessert, so I made a pie crust out of them.  Also, I refrigerated mine overnight and then dressed it up with caramel and chocolate chips :)

Tuesday, May 28, 2013

Greek Pita

I found this recipe online last year when I was looking for more healthy recipes. And it was easy and fast and good. (Well, the kids griped a little, so we won't call it a favorite, but I think if I give it a fun name they might change their minds next time.) :) I really liked it.


Greek Pita
            Makes 8 pita pockets (I  took the original and multiplied it out to make more than 1)

4 (6-inch) pitas (cut in half)
1 cup chopped romaine lettuce (1 small head is enough)
1 cup hummus
1 1/3 chopped cucumber (1 large cucumber is enough)
3-4 small chopped tomatoes
½ cup low-fat plain yogurt or sour cream
4 teaspoons McCormick Greek seasoning (could go less to make milder)

Mix all ingredients (except lettuce and pitas). Cut pitas in half (so there are 2 ‘pockets’ to fill). Fill each pita with lettuce and then with hummus mixture. Serve immediately.

(The original just listed what the pita was filled with, so I multiplied the ingredients and mixed most of the ingredients and filled it that way.)

Know what would make this better? 
Homemade pitas!
...thus begins the search for my next recipe to add to the book!

Got a creative kid-friendly name for these?

Thursday, May 23, 2013

Baked Broccoli


Here's another side dish--my friend Chelsea told me about it, and I've been making it about once a week for the past 3 weeks.  It's a nice alternative to green beans :)

Ingredients:

Frozen broccoli (you could probably use fresh if you wanted--just adjust the baking time)
Olive Oil
Seasoned Salt
Garlic Powder
Onion Powder
Salt
Pepper

**Pick any of your favorite savory spices!

Directions:

1.  Spray a baking dish with non-stick cooking spray.  Spread as much broccoli as you think your family will eat along the bottom of the dish.

2.  Drizzle the broccoli with olive oil.  Sprinkle with your favorite spices.

3.  Bake on 425 degrees for about 20 minutes.  Broil for 3-5 minutes until the tips of the broccoli are nice and brown (crispy).

I accidentally bought a bag of "cut" broccoli, which I found out means that you get a lot of stalk with very little of the good part of the broccoli--so the pictures don't show the normal crispy brown goodness.

I'm not usually a huge broccoli fan, but I love it cooked this way!

Friday, May 17, 2013

Baked Ziti

The idea of a freezer meal sounds really good to me.  You make food when you have the time/ingredients and then freeze it so that you can eat it when you have no time or ingredients.  I was perusing freezer meals on Pinterest when I came upon this meal.  It looked pretty tasty, so I decided to give it a try.  This was a trial run, but next time I make it, I think I'll double it so that I can freeze one.

This dish is good, but honestly, I just prefer lasagna when I'm having pasta/red sauce/cheese--and Beth's lasagna recipe is much faster and easier.  However, the fact that it's a freezer meal takes it up a notch in my book.

Ingredients:

1/2 lb ground beef
1/2 lb ziti pasta (I used penne)
1/2 onion (I will probably use dried onions next time, because finely-chopped onion takes too much time)
26.5 oz can of pasta sauce
1 tsp garlic powder
4 slices of provolone cheese
3/4 cup sour cream
3 oz shredded mozzarella cheese
2 tbsp parmesan cheese

Directions:

1.  Put a large pot of water on the stove and allow it to begin to heat.  Finely chop your onion (or grab your dried onions) and sautee in a large frying pan.  Add in the ground beef and garlic powder--cook until brown.

2.  Once the water is boiling, cook the pasta noodles for 10 minutes (they'll finish cooking in the oven).  Add the can of pasta sauce to the ground beef/onion mixture and simmer for 10 minutes.

3.  Pre-heat the oven to 350 degrees.  Spray an 8x8 baking dish with non-stick cooking spray and pour 1/2 of your noodles into the bottom of the dish.

4.  Pour half of the pasta sauce on top of the noodles.

5.  Layer the slices of provolone cheese on top of the sauce.

6.  Spread the cream cheese on the provolone cheese.

7.  Pour in the rest of the noodles and then the remaining pasta sauce.

8.  Cover with mozzarella and parmesan cheeses.  Place the baking dish in the oven and bake for 30 minutes until the cheese is completely melted.  You may want to place a cookie sheet under the baking dish in order to catch any dripping cheeses, because the baking dish will be very full.

Tuesday, May 14, 2013

Poppy Sandwiches

My mom used to make these "ham and cheese party biscuits" (at least that's the name in my original mom's recipe cookbook) - for baby showers and stuff like that. And when I was little, I HATED that she ruined perfectly good sandwiches with some weird looking yellow sauce. Man, I missed out! :)

Because I think these are my favorite sandwiches ever....

My husband and I tried out this recipe in the early years pre-kids-eating-too and loved them. 
The kids didn't quite agree...probably that strange yellow sauce with little black dots inside.

BUT...when we called them "POPPY SANDWICHES", suddenly, EVERYONE loved them and now they're a favorite.


The idea is it's so small no one can see it and it gets cooked in when you melt the butter. 

Mix it up and add in the onion (usually I have to use a bigger cup but somehow the onion fit that day)

Cut kaiser rolls (or other rolls) in half.
Put slightly less than 1 T  of sauce on each (of 16) sandwich tops and replace top on bottom
 - that way both get coated.
*if you use a tray of little pull apart dinner rolls, you can slice the entire tray in half and spread it over the entire top/bottom rather than each individual one.
*if you get a great price on store bought rolls that don't come 16 medium or 8 large to a pack, just guess on the amount of sauce or re-calc to get a precise amount for each.


I have used shredded, sliced, and block mozzarella cut up - they all work.
This time it was a block cut up; tonight it's going to be sliced mozzarella.
If the ham is thinner and the cheese is shredded, I'll usually go 2 rounds of ham/cheese.
All stuffed and ready for the oven

I also cover them so they don't get too dark/crisp on top

It only takes about 15-20 minutes for the cheese to melt and the onion to soften, but longer won't hurt it).

It takes a while if I make the bread from scratch (which I almost always do - because I'm not paying nearly $2.50 for a 6 pack of Kaiser rolls!), but this week Aldi had an 8 pack of large Kaiser rolls for $1.79 - and with how busy we've been lately - it's worth 1.79 today for an easy tonight. :)

These are homemade bread, just FYI.


The recipe:
Poppy Sandwiches
  • 1  grated onion
  • 2  tsp. poppy seed
  • 1  tsp. Worcestershire sauce
  • 3  tsp. mustard
  • ½  cup butter/margarine 
  • Kaiser Rolls or pull-apart dinner rolls (I usually make a batch of 16 small/medium so we can all have 2 and feel like we're getting seconds!) Here's the link if you want to make them yourself.
  • 1  pkg. ham (12-16 oz - you need a slice or two per sandwich, depending on thickness)
  • 1  pkg. mozzarella cheese (depends on the cheesiness you like - I start with 16 and use what I want that night...and save what's left for later.)


1. Chop, grate, process (or even puree) onion. (Original: grate.)

2. Mix onion, poppy seed, Worcestershire sauce, mustard, and butter.  Heat (in microwave or stovetop) until butter is softened/melted and everything is mixed together.

3. Split rolls in half and spread butter/mustard mixture on inside (top) of rolls. Replace top as you go.

4. Layer ham and cheese in rolls and line sandwiches in pan (either original for pull-apart rolls or in 9x13 or a large baking tray).  

5. Put in oven on 350° for 15-20 minutes.  Serve warm.


Monday, May 6, 2013

Kaiser Rolls

I post this recipe (I don't even remember where I found it because I've been using it for a few years now) because sometime in the next month I'm going to post my family's (yes, even the picky little minions') favorite dinner sandwich/wrap

The recipe uses Kaiser rolls and I hate to pay for bread from the bakery because it costs too much. And I have to use it within a few days - but I do my major shopping every other week - so it complicates my menu planning too.

Easier just to make it myself.

The over all idea: 
recipe below

Start with the dry minus a cup or two of flour

Add in the wet (water and oil)


You may have to help it out a little at some point in the process

 When it's mixed really well, you add in the rest of the flour and let it go

for a few minutes

until it's coming off the edges of the bowl (add that last bit of flour bit by bit until it's mixed in rather than dumping it all in at once)

If your thumb sticks and tries to take some dough with it and the bottom is still REALLY stuck - you need more flour and time...keep going


You're good to go when your thumb comes off clean.

I know the kitchenaid is supposed to be the magical tool of the day that does all the work for you, but I like to finish making it nice and smooth by kneading just a few turns myself.


Stick it back in the bowl to rise. (nope, I didn't bother to grease that bowl...sometimes I do)

 Cover it - it'll rise faster

About an hour later:

Punch it down

Scoop it out

and cut it up (16 is the final count - start with 4ths)

Then each 1/4 of the dough into 4 pieces:

16 total...shape them next

A trick I saw someone do for small rolls is to stuff it through a 'hole' created by your thumb and first finger and use those fingers to pinch the ball 'shut' at the bottom after all the dough has been stuffed through.
(Or you can just roll it - I like little seamless balls)

another rising

But first, use a sharp knife (or some other blade/flat thing) to make little kaiser roll shaped designs pressed into the top - this is optional, but the ones in the bakery look like this.

rise faster covered...

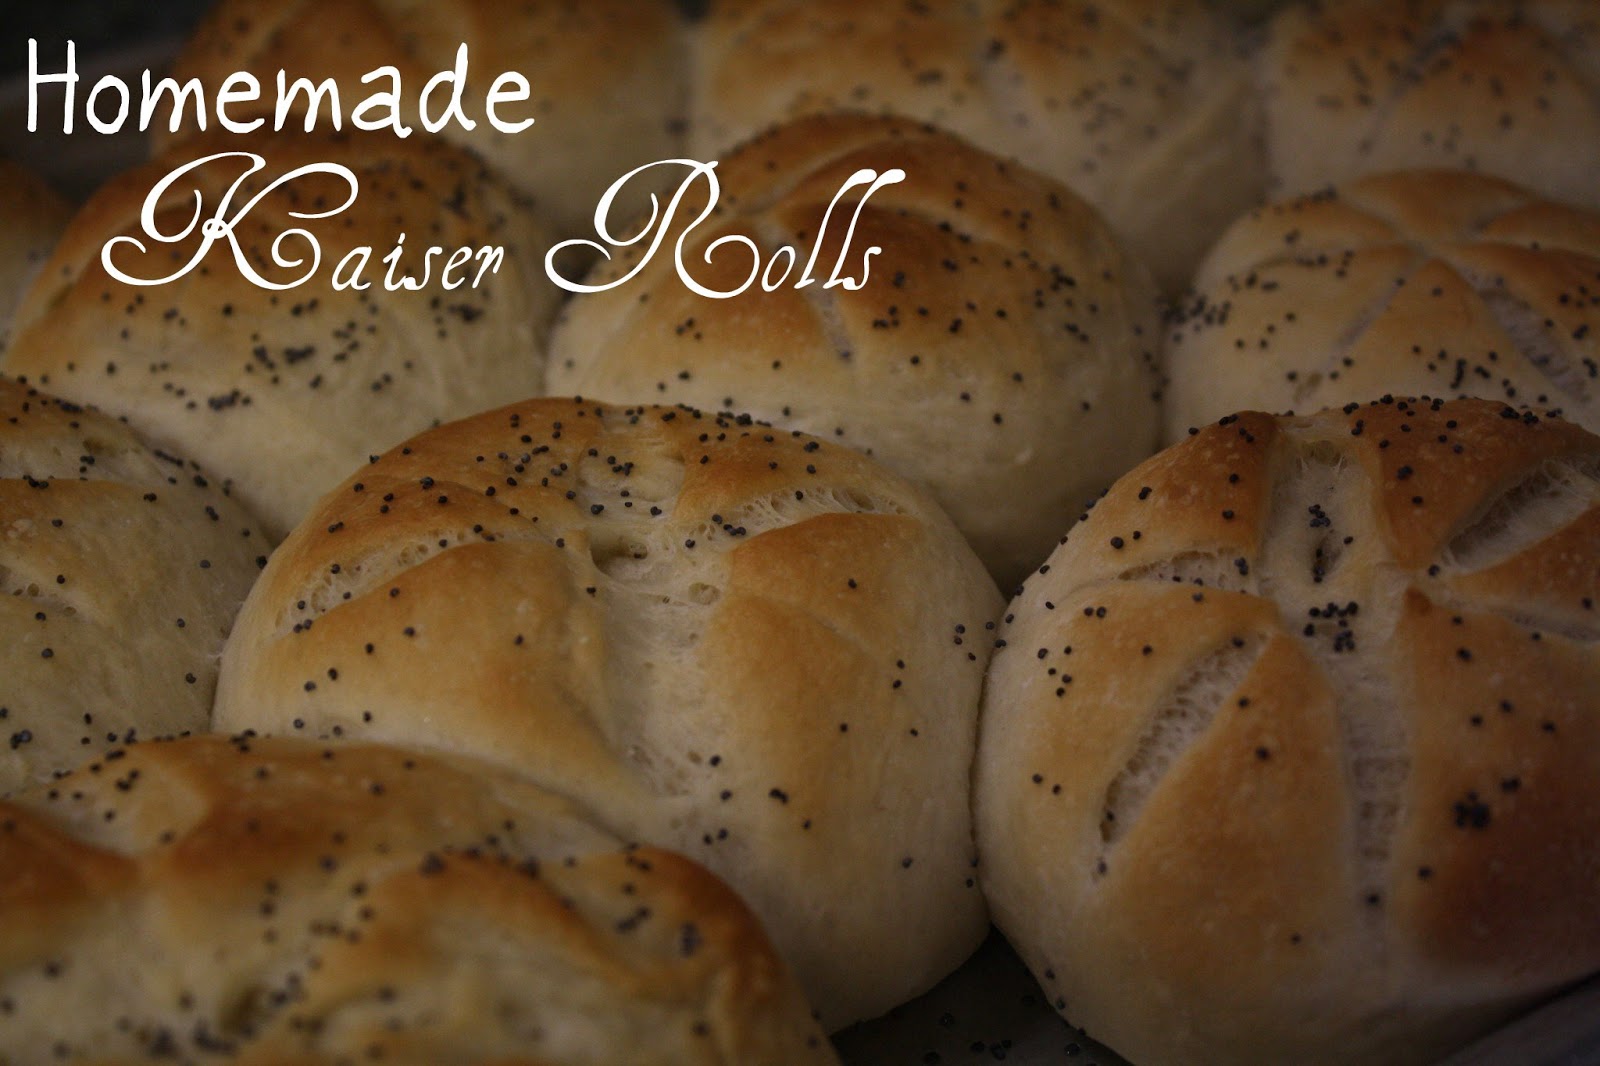
When they're done, brush with egg (or egg white if you just want it glossy and not brown) and sprinkle with poppy seeds (also optional, but they'll match the sandwich we're going to make next week if you do this) :)

And bake - they back up pretty fast


Kaiser Rolls            Yield: 16 rolls.

4 ½ tsp active dry yeast
2 cups warm water (110° to 115°)
¼ c  sugar
1/3 cup canola oil
2 teaspoons salt
6 to 6-1/2 cups all-purpose flour


1 egg white (or whole egg if you want it brown - this is what I usually do - I don't like to save/toss the other half of the egg)
2 teaspoons cold water
Poppy and/or sesame seeds


Mix 5 cups flour, sugar, salt, and yeast (in kitchenaid). Slowly add, water and oil. Mix until smooth. Stir in enough remaining flour to form a soft dough. Knead until smooth and elastic, about 6-8 minutes. Cover and let rise in a warm place until doubled, about 1 hour.

Punch dough down. Turn onto a lightly floured surface; divide into 16 pieces. Shape each into a ball. Place 2 in. apart on greased baking sheets. With scissors, cut a 1/4-in.-deep cross on tops of rolls. Cover and let rise until doubled, about 30-45 minutes.

Beat egg white and cold water; brush over rolls. Sprinkle with poppy and/or sesame seeds.
Bake at 500° for 10 minutes or until golden brown. Remove from pans to wire racks to cool. 

Nutrition Facts: 1 serving (1 each) equals 225 calories, 5 g fat (1 g saturated fat), 0 cholesterol, 300 mg sodium, 39 g carbohydrate, 1 g fiber, 5 g protein.


I think I may have edited that time - I like to bake my breads faster because I like the speed for one, and the texture it produces, but I think it was originally 350 or 400 for about 15-20 minutes.
Just FYI in case you'd prefer that temp for other stuff going on in your oven that day. :)

Aren't they pretty? And they are soooo good - 
I love  a sandwich recipe put on a freshly baked at home bread - it makes the whole thing better! :)